Getting Household Things Done: Setting Up Mission Control
Most of the productivity systems and instructions out there are written for work and business. Trying to apply the system to the household can be troublesome, particularly with managing the dozens of little projects that come up just in the course of living. If you don’t have a system to manage the papers and projects, Getting Household Things Done becomes a morass of unfinished and forgotten projects. The key to managing the papers and projects is having a center where everything gets processed. Over the next two articles I will share with you my Mission Control center, the key to Getting Household Things projects done. Today we will examine my Mission Control setup, and the [timed-content-rule id=”16038″]next article[/timed-content-rule][timed-content-rule id=”16039″]next article[/timed-content-rule] will talk about how to process.
When I first realized I needed a Mission Control, I was sitting at my desk in our shared office. My inbox, the top basket of a three-basket stack, had avalanched onto my desktop, over the side of my desk and filled up the space between the wall and my desk. Even though I had a weekly task in my task manager to process the inbox, I hated doing it, because it just seemed like I was shuffling piles around. And so I avoided it – both the mess and that room. Unfortunately, that day I needed to locate an important paper that I knew was somewhere in the mess.
That mess had given me problems before. I missed my car registration one year (resulting in a ticket), and couldn’t put my hands on the microchip information for the dog so it could be updated.
It was time to do something.
Creating the Structure
I knew from experience in many offices that if you don’t have the structure in place to handle things, processing a backlog wouldn’t work. Trying to process thousands of emails without anywhere to put them (or doing it on the fly) leads to moving things around needlessly. I knew I had to plan things out before I tackled the pile.
My system came from the type of information I knew was in the pile. I had receipts, magazines, pet information, project information, addresses, correspondence, notebooks and supplies in that pile.
In my office I had a two-drawer filing cabinet in the closet, a hanging file in my printer stand, and a three-basket stack on my desktop.
From my personal experience, I knew I needed three levels of filing, which I equate to airport parking for my task list: long term parking, for papers that needed to be kept but not accessed often; short-term parking, for papers that are for projects I am currently working on; and curbside drop-off for things that are immediate.
Resolving Trouble Spots
There were some issues I needed to resolve as well.
The first being having an inbox with no top bound just led to things piling up. Really piling up. In hindsight I’m surprised it took as long as it did before it avalanched. I needed a more confined space so that I would be forced to deal with the inbox being full.
I also needed to remove the periodicals and office supplies from the pile. Throwing a notebook or pad of sticky notes or my reading glasses into the inbox was simply procrastination on putting it where it really should live. The problem was that I didn’t have an easy place for them to live.
My hanging folder system under the printer was also a mess. The files themselves are difficult to get papers out of because of the way the cabinet is made. My cats also like to go behind the files when it is open, leading to the folders coming off the track and the papers mixing together on the floor. I needed a way to group the papers so that I could grab and entire project at once while making it as cat proof as possible.
My Mission Control Setup
I set up my Mission Control with specific purposes.
The Document Box
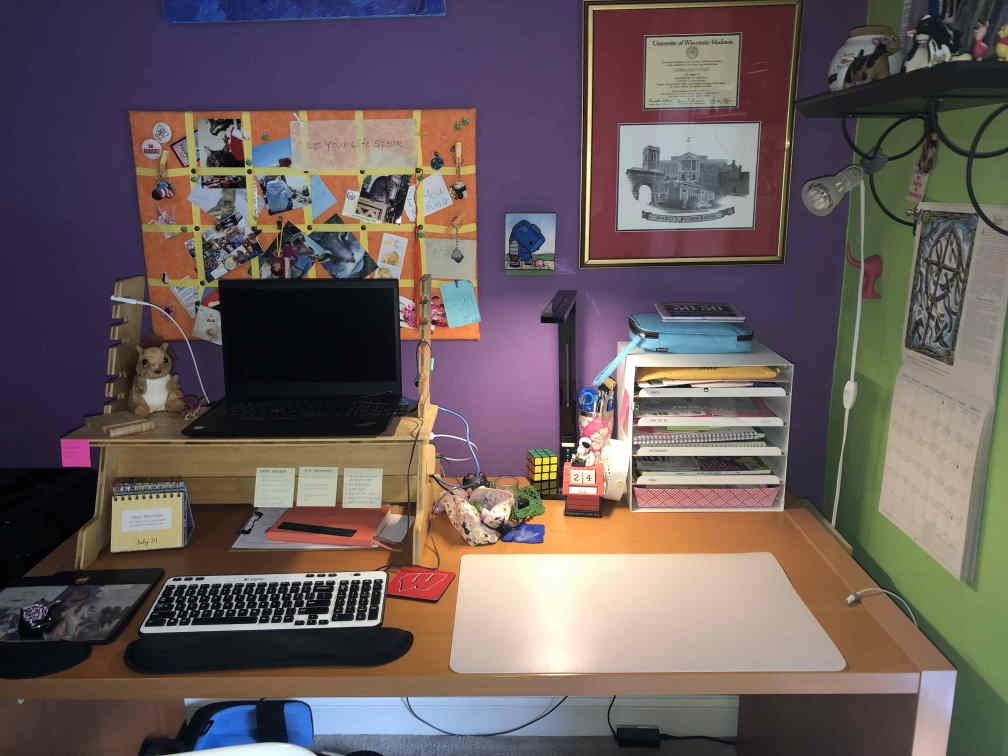
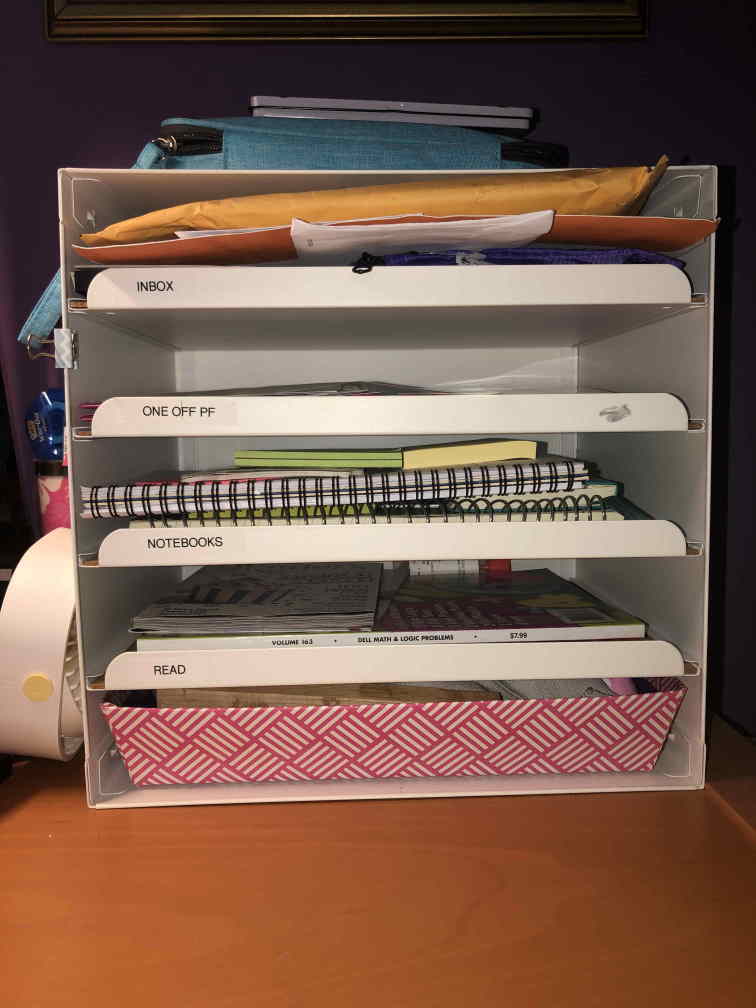
Starting out, I replaced my plastic three-basket stack with a letter tray from IKEA. (The Kvissle) The Kvissle has five trays, four of which pull out, and it is in a box, meaning that the inbox can’t expand until it avalanches. The bottom didn’t have a pull out tray, so I found a box that fit.
I would like to point out this was the only thing I purchased to make Mission Control. Everything else I used was already around the house.
I decided the document box would be the curbside parking. I set aside the top tray for an inbox.
The second one is where I kept my daughter’s information for school and lessons as well as a one-off project folder (more about that in a moment).
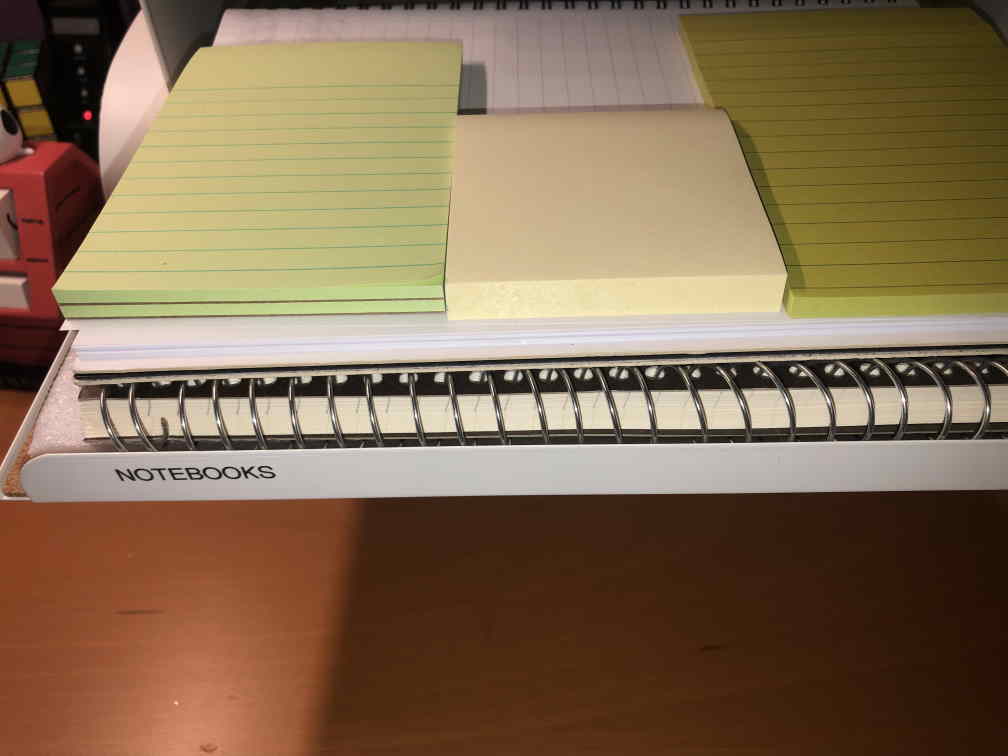
The third was a space for notebooks.
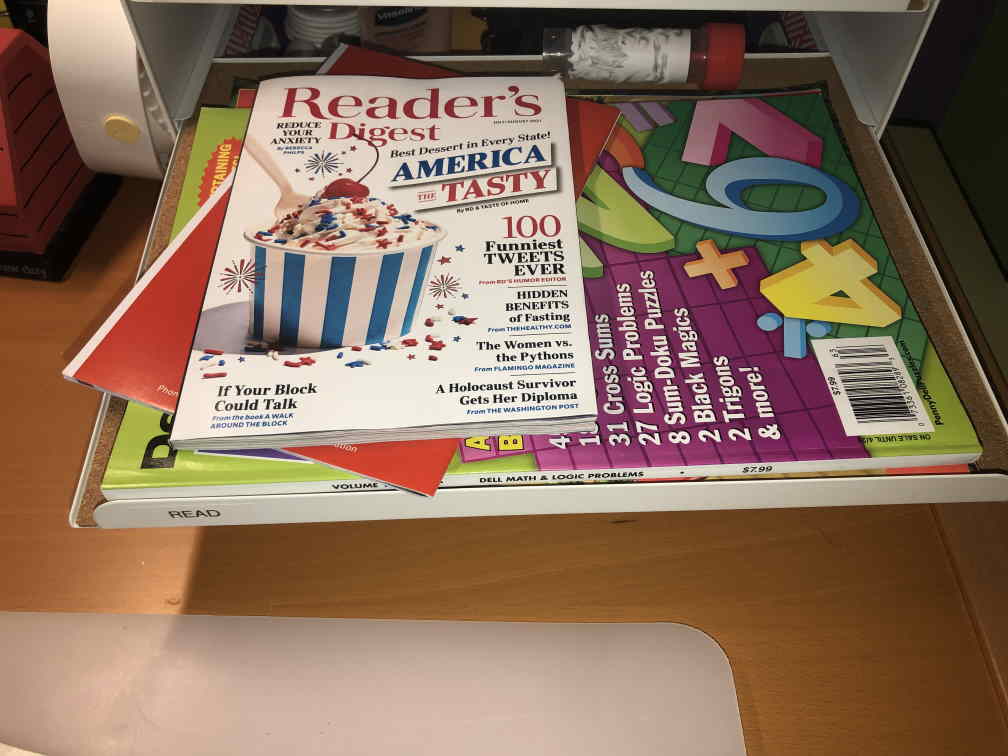
The fourth for periodicals. I chose to keep periodicals here simply because it is more in my sight than other places in the house. I have tried keeping them next to chairs I commonly use, next to my bed, and in my work bag. Keeping them on my desk means that when a new one comes in, I am able to see how many are waiting for me to read and either read it immediately or recycle it.
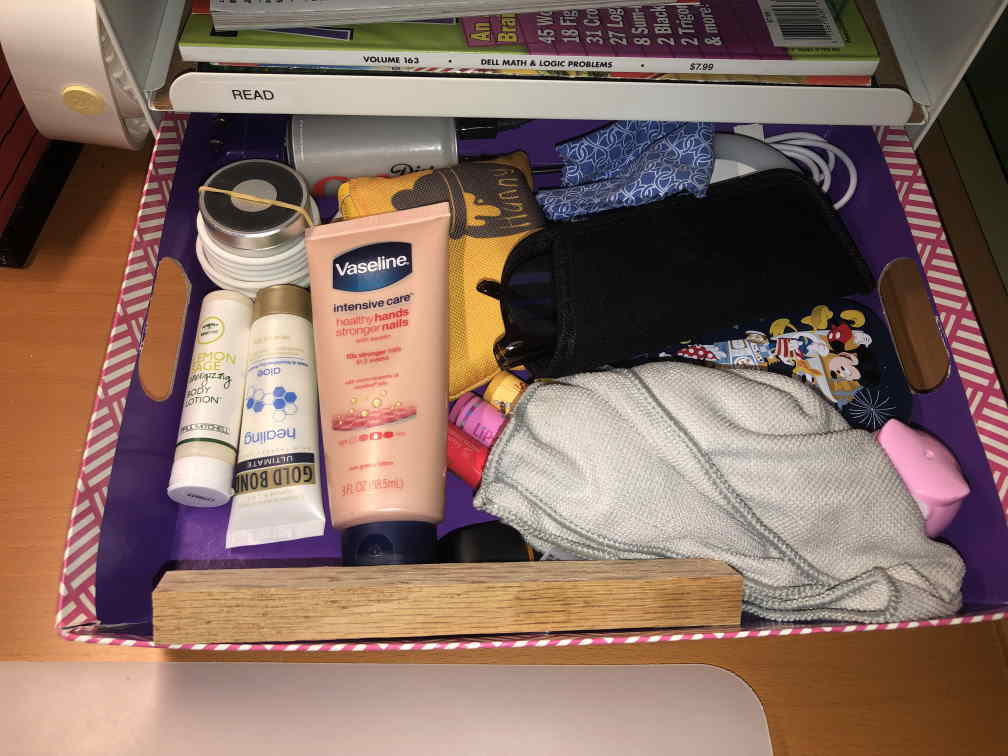
And the bottom was the supplies basket. (Since I don’t have drawers in my desk, this is the repository for things like lotion, cords and lip balm)
Hanging Files/Tickler
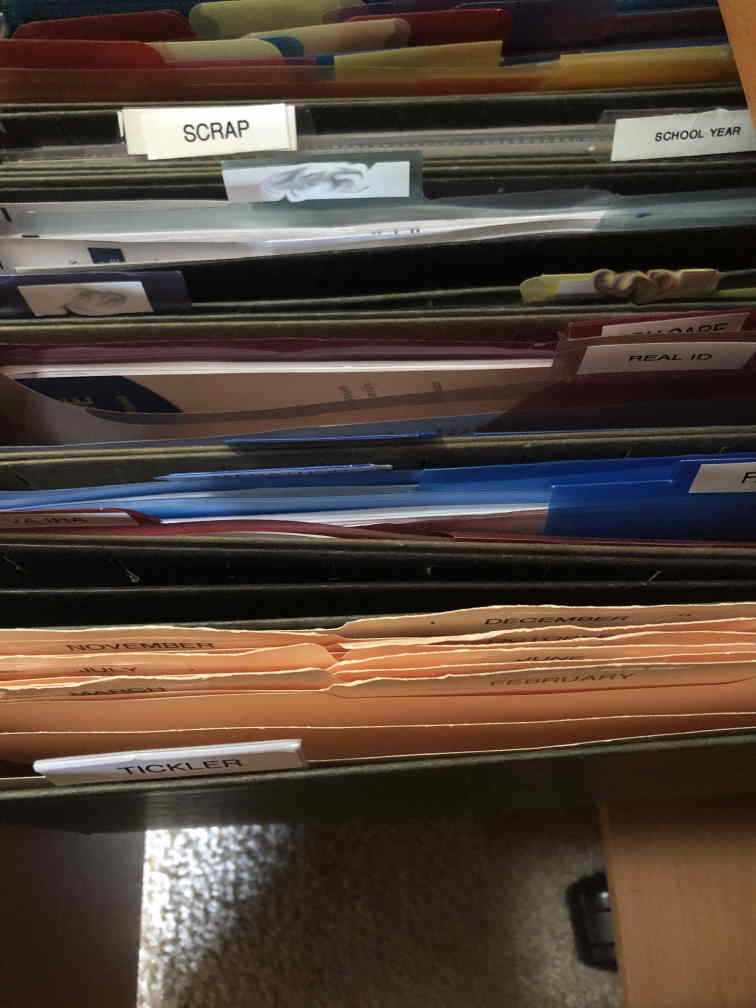
The hanging file in my printer stand became my short-term parking. These are where the project files would go for the things that I was working on.
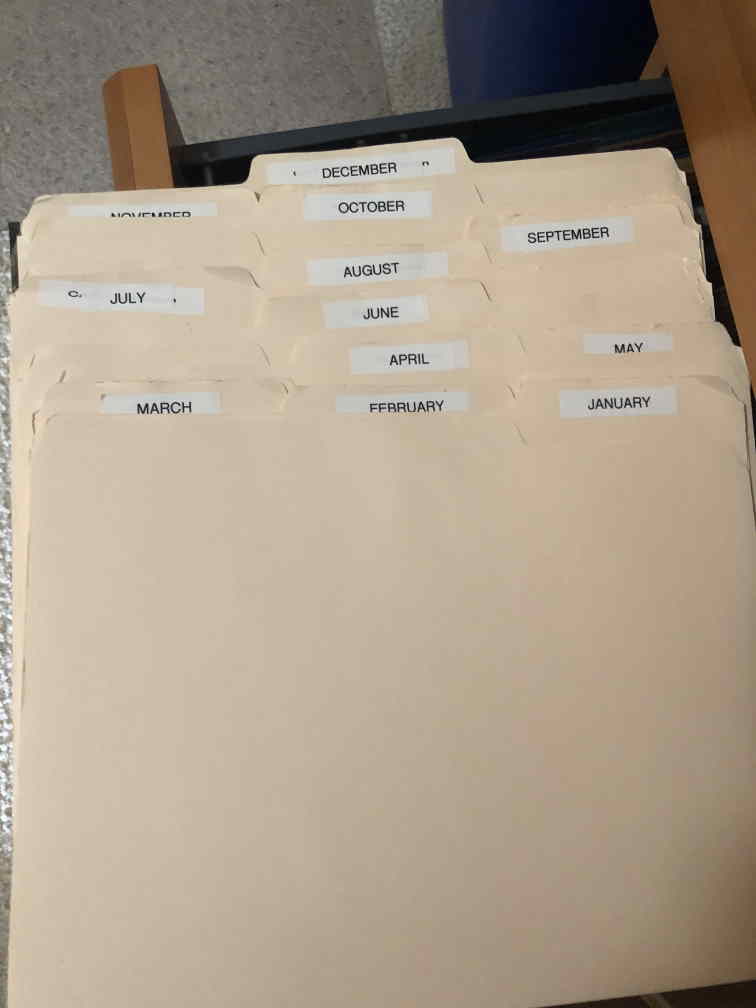
Also within the hanging files was the set of 12 file folders, each labeled for a month. I don’t need a daily tickler, but the monthly one allows me to postpone things until the appropriate month. It gets checked in the last week of the month previous. This way I can put things in there that need to be attended to. I usually have lawn care information, free calendars, paperwork for upcoming medical exams and birthday cards in there.
Filing Cabinet
The filing cabinet in the closet remained long-term parking, for things that I needed to keep, such as pet records, employment information, and certifications/licenses.
Document Sorter
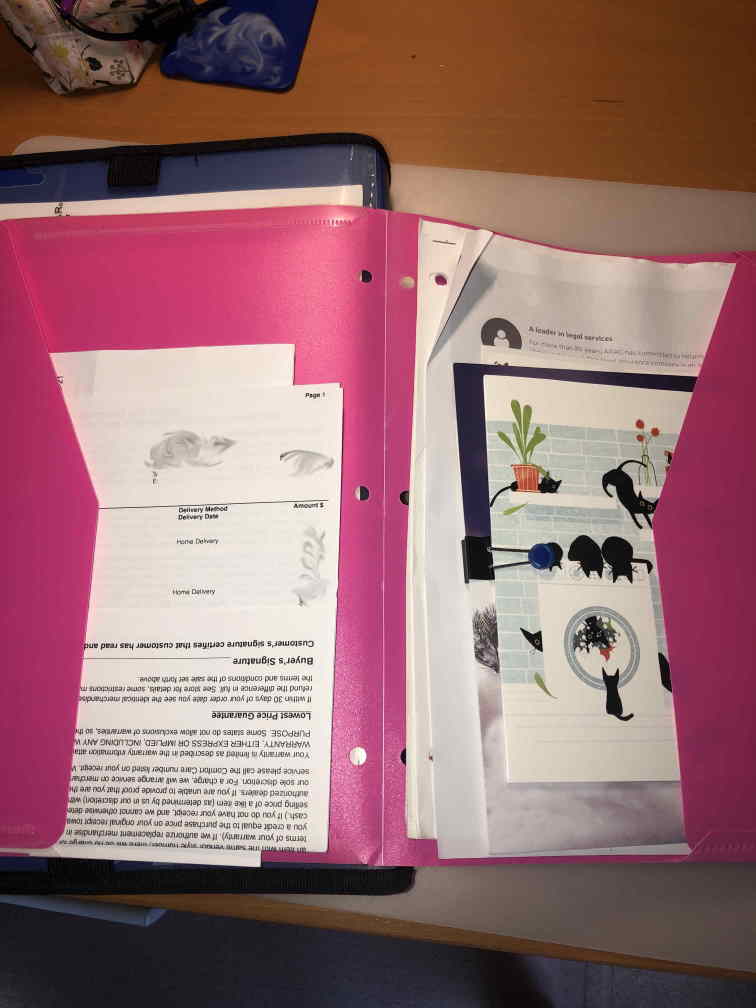
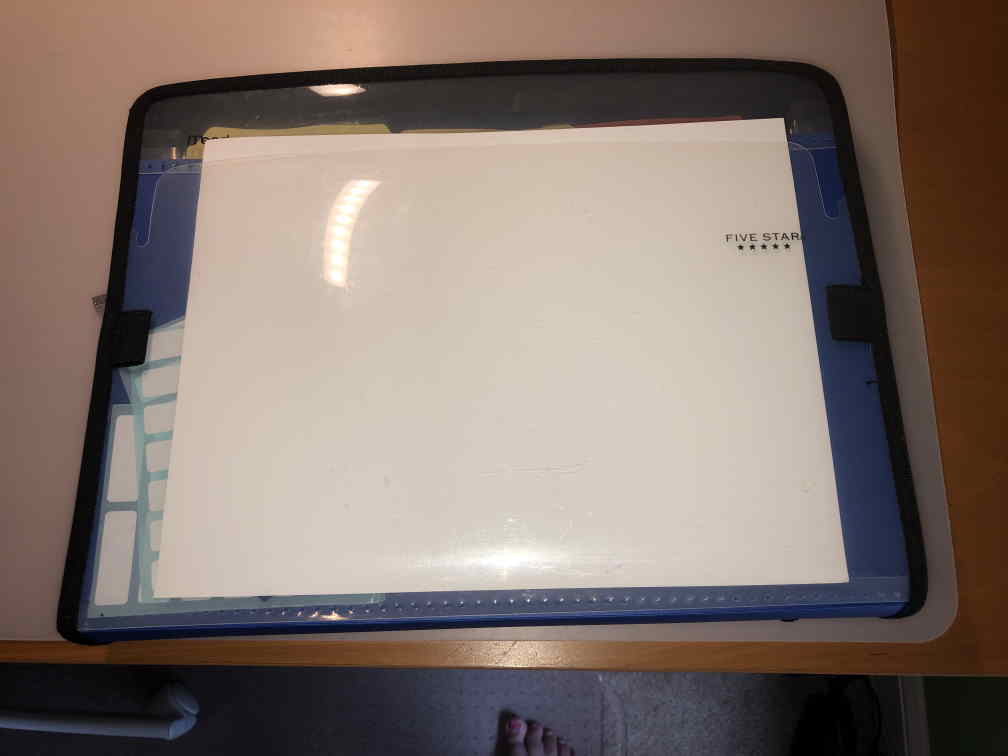
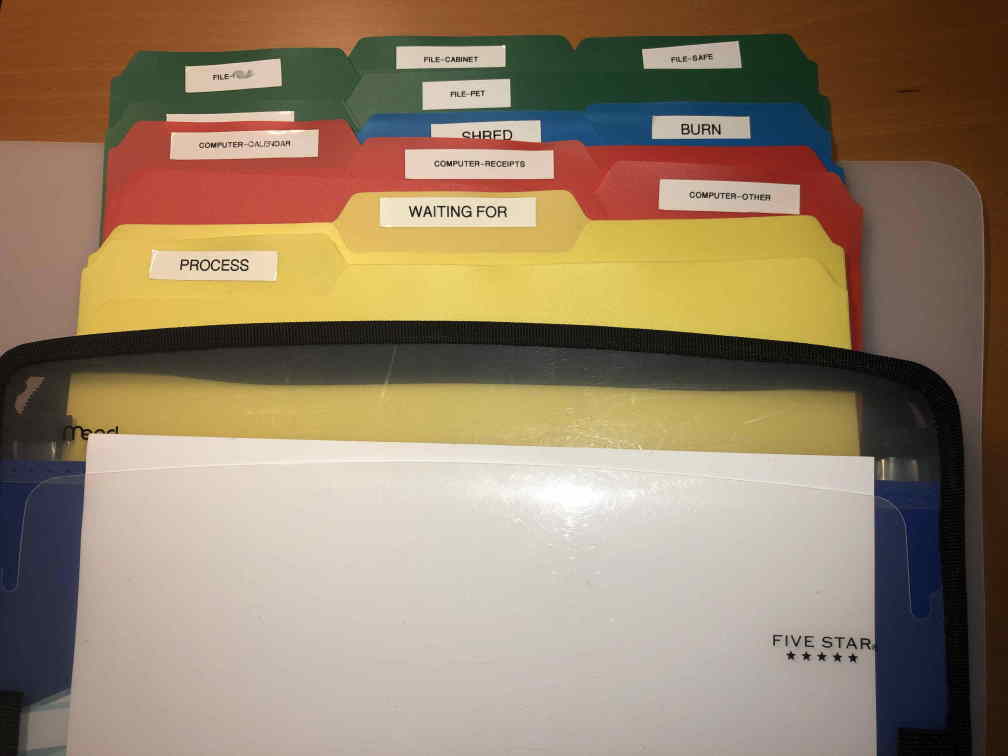
I also pulled out my document expanding folder* that I used when I was a teacher. This plastic envelope zips up and has seven dividers inside.
I added poly folders* to help me sort. [insert picture tickler] These folders allow me to stage things that can be done in batch, namely filing or computer entry. This keeps me from having to keep getting up and running to the trash or recycling as well.
By setting up the system to handle the types of information I knew was in there, I saved myself a lot of time and effort.
In the next article, we will talk about how I used this system to clear my backlog.
